Flaky Food Processor Pie Crust

Easy Food Processor Pie Crust Without the Guesswork

It's pie season, and if making pie crust makes you nervous, you're not alone.

Making pie dough isn't difficult, but there are a few things that can make it go wrong. You can overwork the dough, add too much or too little water, or let your butter and shortening get too warm.

The good news is that you don't have to be an expert to make a good pie crust.

Unbaked pie crust in a pie dish beside a rolling pin.

I use a food processor because it makes quick work of the dough and takes much of the guesswork out of the process. I'll show you what the dough should look like along the way so you can feel confident that you're on the right track.

Jump to Recipe

What Can Go Wrong When Making Pie Crust?

There are only a few ingredients in pie dough, so it seems like making pie crust should be easy. And it is, once you know what to watch for.

You Overwork the Dough

This is one of the easiest mistakes to make.

Too much handling can make your pie crust tough. Once the dough begins to come together, stop. You don't need to knead pie dough.

You Use Too Much or Too Little Water

The amount of water needed isn't always exactly the same. Weather and humidity can affect how much water your flour needs.

Start with the amount called for in the recipe. If the dough is still too dry, add more ice water one teaspoon at a time until it begins to hold together.

Your Ingredients Aren't Cold Enough

Cold butter and shortening are important when making pie dough.

I cut my butter and shortening into pieces and freeze them for about an hour before making the dough. I also use ice water.

Keeping the ingredients cold gives you more time to work with the dough before the fat begins to soften.

A measuring cup with water and a plate with cubes of butter and shortening.

Why I Use a Food Processor for Pie Dough

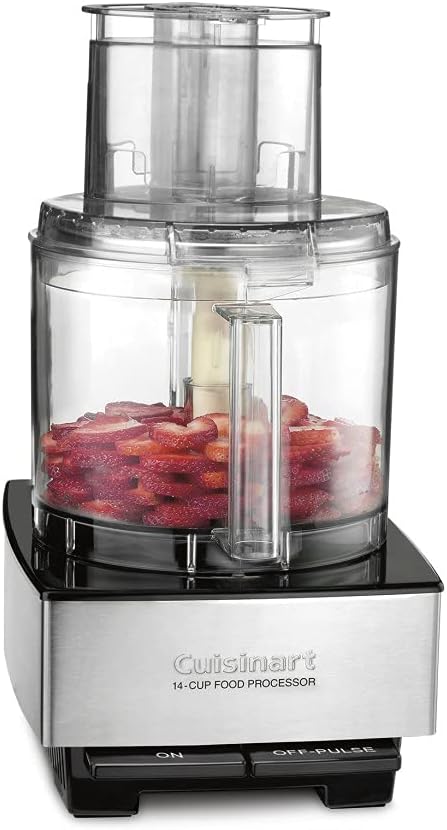
I used to make pie dough with a pastry cutter. It works, but once I started using a food processor, I found that making pie dough became much easier. This is the food processor I use.

The food processor quickly cuts the cold butter and shortening into the flour. It also helps limit the amount of handling, which is important because you don't want to overwork the dough.

You don't need a food processor to make pie crust, but if you have one, I recommend giving it a try.

How to Make Pie Crust in a Food Processor

Step 1: Freeze the Butter and Shortening

At least an hour before you want to make your pie dough, cut the butter and shortening into pieces and place them in the freezer.

You'll also want to have ice water ready when you're ready to make the dough.

Step 2: Combine the Dry Ingredients

Place the flour, confectioner's sugar, and salt in the bowl of your food processor.

I use confectioner's sugar because I usually make this dough for a dessert pie. If I'm making a savory pie such as quiche, I leave out the confectioner's sugar.

Pulse briefly to combine the ingredients.

Step 3: Add the Cold Butter and Shortening

Add the very cold butter and shortening to the flour mixture. Pulse several times until the mixture resembles coarse crumbs.

You don't want everything to look uniform. Look for some larger pieces of butter and shortening throughout the mixture.

Those pieces are exactly what you want to see. Watch the video to see what I mean.

Step 4: Add the Ice Water

Add 1/3 cup of ice water and pulse. Watch the mixture as you work. It will begin to grab together and form larger clumps.

Once the mixture starts to hold together, you're done.

If it still looks too dry, add more ice water one teaspoon at a time. Don't add more water than you need.

What Should Pie Dough Look Like?

This is one of the things I find most helpful about making pie dough in a food processor. You can watch the dough change as you work.

After adding the cold butter and shortening, you should still be able to see pieces of the fat throughout the flour.

What the Flour and butter and shortening should look like.

After adding the water, the mixture will begin to clump together. When you turn the dough out of the food processor, it may still look crumbly.

That's okay.

It doesn't have to look like a smooth ball of dough at this point.

Use the plastic wrap to help bring the dough together, gently pressing it into a disk. Try not to work the dough any more than necessary.

Divide the dough into two pieces and form each piece into a disk. Wrap the disks and refrigerate them for at least 30 minutes before rolling.

Pie crust in a pie plate with a blue and white kitchen towel and a rolling pin.

Rolling Out the Pie Dough

When you're ready to roll out your dough, lightly flour your work surface.

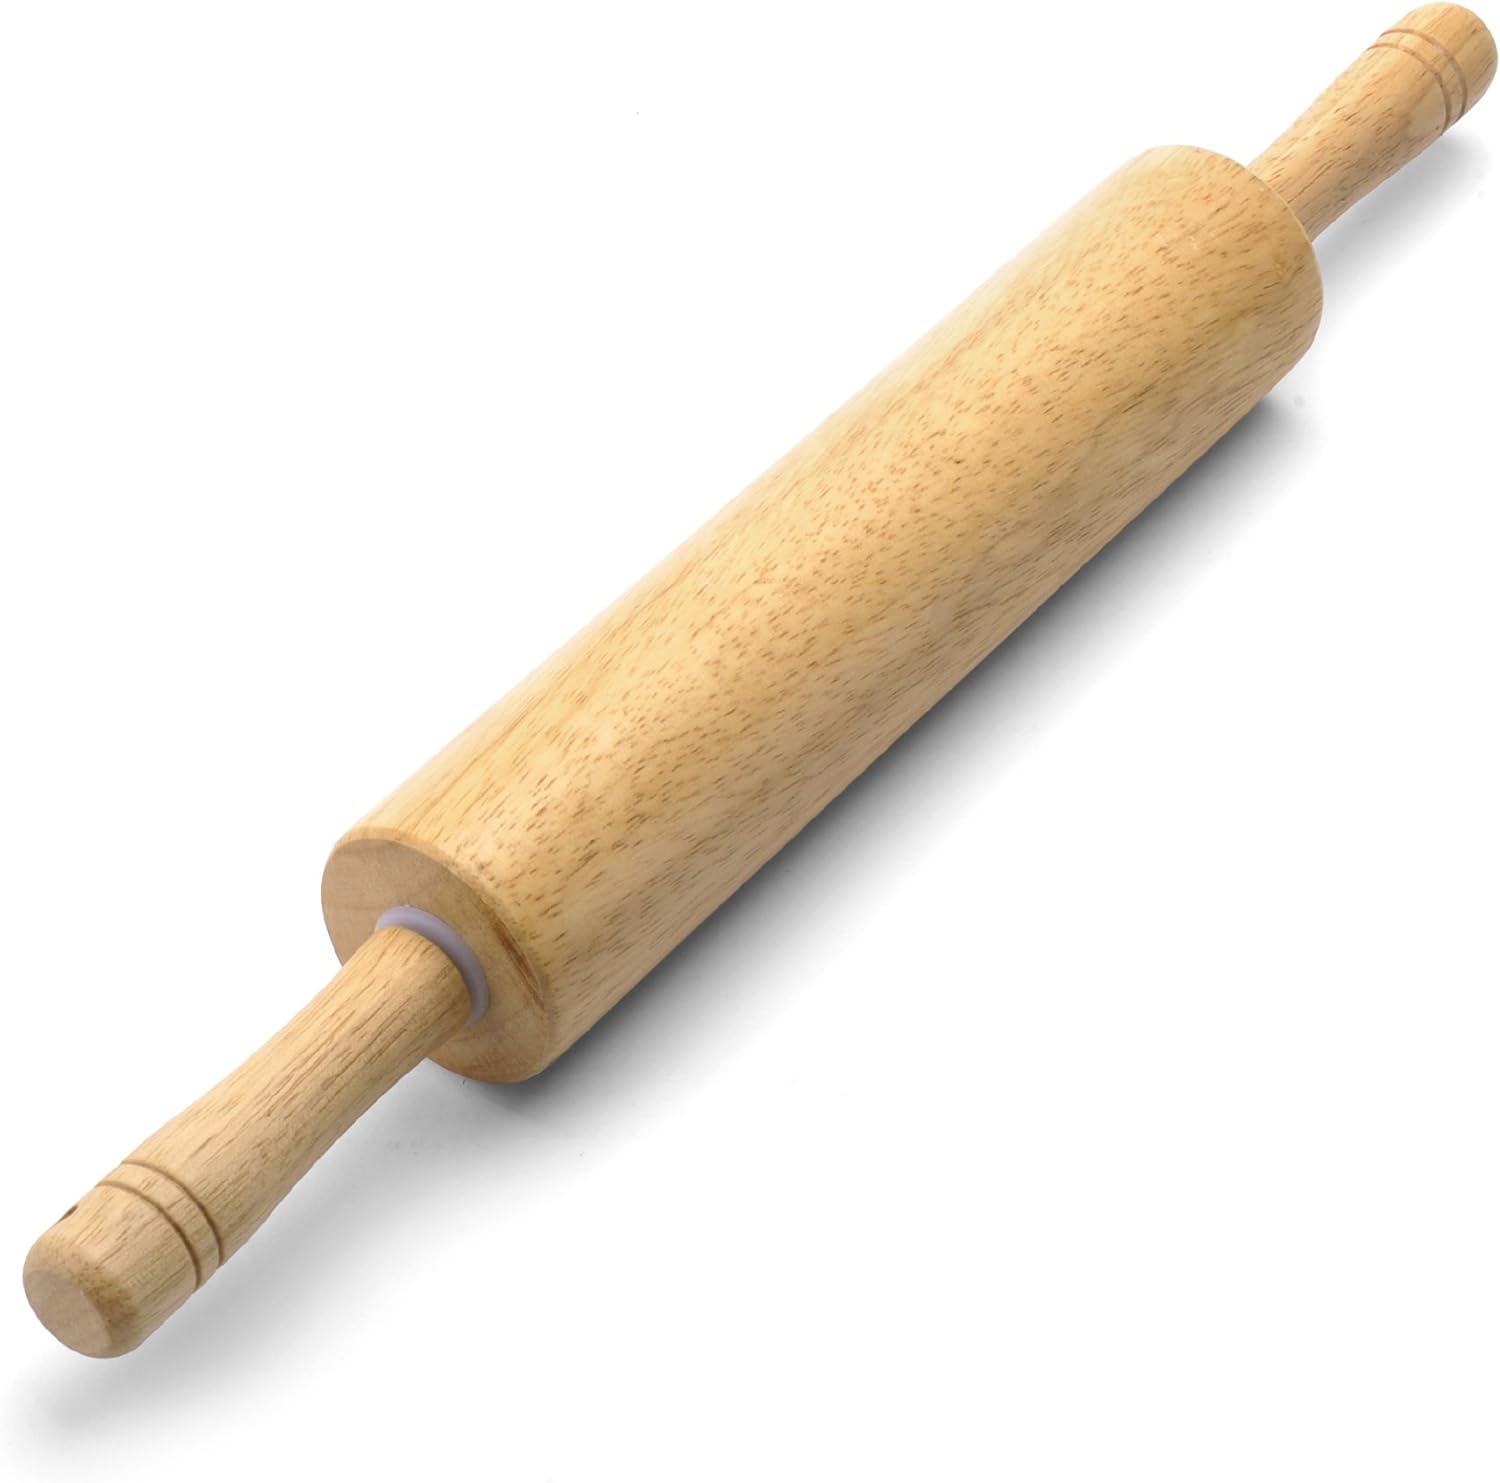
Unwrap one disk of dough and place it on the floured surface. Dust the top and bottom of the dough with flour, and flour your rolling pin.

Gently begin rolling the dough.

Shift or turn the dough periodically as you roll so that you can make sure it isn't sticking to your work surface. Add a little more flour if necessary.

Continue rolling until the dough is about an inch larger than your pie plate.

I like to fold the dough in half before transferring it to the pie plate. This makes it easier to lift and position the dough without stretching it.

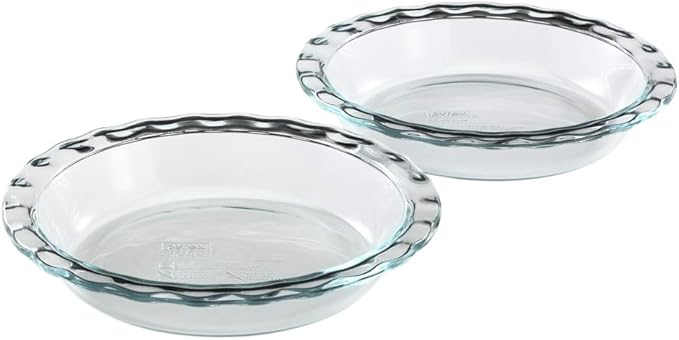
Once the dough is positioned in the pie plate, gently fit it into place.

Don't stretch the dough to make it fit.

Fold or roll the excess dough around the edge and use your fingers to create a fluted edge.

Now your pie crust is ready for your filling.

How Many Pie Crusts Does This Recipe Make?

This recipe makes two 9-inch pie crusts. That's enough for one double-crust pie, such as apple pie, or two single-crust pies, such as pumpkin pie.

You can also use this dough for savory pies such as quiche or chicken pot pie.

A Few Tips for Successful Pie Crust

If you're new to making pie dough, keep these things in mind:

  • Keep your butter and shortening cold.
  • Use ice water.
  • Add additional water only a teaspoon at a time if needed.
  • Don't overwork the dough.
  • Don't worry if the dough looks crumbly before you bring it together.
  • Refrigerate the dough before rolling it.
  • Turn the dough as you roll so it doesn't stick.
  • Don't stretch the dough when you put it into the pie plate.

Once you know what the dough should look like, making pie crust becomes much less intimidating.

And that's why I like using a food processor. It makes the process quick and straightforward, and you don't have to wonder quite so much about whether you're doing it right.

Watch the Food Processor Pie Crust Video

In the video, I show you how I make this pie dough from start to finish, including what the butter and shortening should look like after pulsing, how the dough comes together when you add the water, and how I roll and shape the finished crust.


Pin This!

Apinterest pinffeaturing food processor pie dough in a pie dish.


Easy Food Processor Pie Crust Recipe

pie dough, pie crusts, pie, food processor
dessert
American
Yield: 2 pie crusts
Author: Donna Urso
Easy Food Processor Pie Crust

Easy Food Processor Pie Crust

Make an easy, flaky pie crust using your food processor. This recipe makes two 9" pie crusts.

Prep time: 20 MinInactive time: 1 H & 30 MTotal time: 1 H & 50 M

Ingredients

Instructions

  1. Cut the cold butter and shortening into small chunks and freeze for one hour.
  2. Mix (pulse) the flour, sugar, and salt in the bowl of your food processor.
  3. Add the cold butter and shortening to the flour mixture. Pulse about seven or eight times, until the butter and shortening are well distributed and in small pieces.
  4. Continue to pulse, adding 1/3 cup of the ice water. The dough will begin to clump together. If still too dry, add more ice water one teaspoon at a time. Once the mixture holds together you are done.
  5. Turn the dough out onto plastic wrap. Divide the dough into two pieces. Don't handle the dough too much. Flatten the dough into disks. Wrap each disk in plastic wrap and refrigerate them to chill for at least 30 minutes before using.
  6. When ready to roll out your dough, begin by generously flouring your workspace, using at least 1/4 cup of flour. Unwrap your disk of dough and place it onto the flour. Turn the dough over being sure both sides of the dough are floured.
  7. Rub flour onto your rolling pin and begin rolling away from you and turning the dough clockwise, after every few rolls of the pin.
  8. Keep rolling until your dough is about an inch larger than your pie plate. Fold the dough in half and lift it over the pie plate.
  9. Fit the dough into position on the pie plate and crimp the edges. If making a single-crust pie, refrigerate the dough for 30 minutes before filling or prebaking.
  10. If making a double-crust pie, roll out the top crust, fill the bottom crust, cover the pie with the top crust, and chill for 30 minutes. Bake according to your recipe directions.
Nutrition Facts

Calories

1423

Fat (grams)

98 g

Sat. Fat (grams)

42 g

Carbs (grams)

127 g

Fiber (grams)

4 g

Net carbs

115 g

Sugar (grams)

0 g

Protein (grams)

17 g

Sodium (milligrams)

1176 mg

Cholesterol (grams)

120 mg

It's easy to add me as a preferred source on Google, so my latest updates show up first in your search results and AI Overviews!

Add Just One Donna as Preferred Source

Comments

Post a Comment

Talk to me. I welcome your comments. (These comments are strictly moderated. Spammers take note.)

More Popular Posts

How to Make a Perfect Bacon and Eggs Breakfast

In my opinion, the best breakfast consists of two perfectly fried eggs, crispy bacon, and toast made with hearty bread. This bacon and eggs recipe delivers. Bacon and eggs or eggs and bacon? No matter, it is definitely the breakfast you want on those lazy mornings when you have time to relax around the kitchen table, drinking a cup of coffee or two. The Best Bacon and Eggs Breakfast (This post contains affiliate links for your shopping convenience.  When you make a purchase using these links you help support this blog.) How to Cook Bacon and Eggs My technique was learned from my mom, by watching her make our family's breakfast over and over again, year after year.  This is a basted egg recipe which means the eggs are cooked in bacon grease. Cooking eggs in bacon fat is easy and takes just a little practice to perfect.

Grandma's Soft and Chewy Date-Filled Cookies

One of the things I can count on as the Thanksgiving and Christmas seasons arrive each year is a feeling of nostalgia. The traditional foods we serve at our family's holiday tables can surely bring out all the feels. Now that it is officially cookie season, we should kick it off with a soft, tender cookie with dates that is a special, nostalgic, family recipe.  This old-fashioned homemade date-filled cookie recipe is at the top of our family favorites list. An Old-Fashioned Date Cookie Recipe What are old-fashioned date-filled cookies?   Old-fashioned date-filled cookies are a nostalgic, soft sandwich cookie featuring two rounds of tender sugar cookie dough with a sweet, homemade date jam filling in the center.  This vintage 1930s recipe is a traditional holiday favorite, prized for its soft texture and the perfect balance of buttery dough and naturally sweet dates. This old-fashioned, date-filled cookie was my dad's favorite cookie from his childhood. M...

Crunchy, Spicy Gingersnap Cookies

An Old-Fashioned Cookie That Always Turns Out There’s something about a good gingersnap cookie that just feels right. Not fancy. Not complicated. Just dependable… and really, really good. These crunchy, spicy gingersnaps are the kind of cookie you make when you want something you know will turn out—and something everyone will recognize and enjoy. They’ve got that classic crackled top, a warm blend of spices, and just enough sweetness to balance it all out. And the best part? They’re easy. No mixer required. A Traditional Ginger Snaps Cookie Recipe ( This post contains affiliate links.  I will be compensated when you make a purchase with these links.) Gingersnaps Cookies This old-fashioned gingersnap cookie is a winner.  It's easy to make and will be a favorite in your recipe rotation.

Traditional New England Whoopie Pies

These old-fashioned whoopie pies are soft, chocolatey, and filled with a rich, creamy filling, just like the ones many of us remember. What is an original New England Whoopie Pie? This is a true New England-style recipe. If you’re looking for a true whoopie pie recipe—the kind made in New England with a cooked filling—this is it. Whoopie pies are a beloved treat, a nostalgic dessert that evokes childhood memories and continues to delight today. My mom would make them for us every once in a while. Oh, what a treat to come home from school to a platter of chocolate whoopie pies! This recipe, inspired by traditional Maine-style whoopie pies, comes from my family recipe box. It delivers soft, chocolatey cakes with a rich, creamy cooked filling, no marshmallow fluff needed! The Best Whoopie Pies Recipe (Soft Cakes & Creamy Filling) This post includes affiliate links. Whoopie pies are essentially handheld cake sandwiches: soft, round, cake-like cookies embracing a ...

The Ultimate Cinnamon Swirl Bread: A Bread Machine Recipe

Today's recipe will fill your kitchen with an incredible aroma and lots of smiles. It's homemade cinnamon swirl bread made with your bread machine. If you’ve ever struggled to get that perfect cinnamon swirl or ended up with gaps or leaking filling, this method fixes that using your bread machine. Bread Machine Cinnamon Swirl Bread (Soft, Easy Recipe) This post includes affiliate links. This recipe brings together the ease of your trusty bread machine with the deliciousness of a warm, sweet, and perfectly swirled cinnamon bread. Get ready for a slice of pure comfort!

How to Trap and Get Rid of Fruit Flies

If you have fruit flies in your kitchen, the fastest homemade solution is a simple mixture of apple cider vinegar and one or two drops of dish soap.  The vinegar attracts the fruit flies, while the dish soap breaks the surface tension so they sink instead of escaping. Most people begin seeing results within a few hours. No chemicals. No special equipment. Just a quick fix that actually works. The Best Homemade Fruit Fly Trap (Works in Hours) Those pesky little buggers can often be brought into your home on the vegetables and fruit you buy. You don't have to put up with the annoyance. This homemade fruit fly trap is one I have been using for many years, and it works every time.

Artisan Bread in Your Bread Machine

Finally. Artisan Bread from Your Bread Machine Yes, Really. If you want to make artisan-style bread using your bread machine, the secret is simple: use the dough cycle, then bake the loaf in a preheated Dutch oven. This method gives you a crisp crust and chewy crumb without any hand kneading. If you use your bread machine regularly, you already know what it does well. It mixes, kneads, and handles the first rise beautifully. It is a dependable helper in the kitchen. What it does not do especially well is produce that deep golden, crackly crust we associate with artisan bread. The good news is you do not need to give up the ease of your bread machine to get that result. You simply need to change how the bread is baked. Today I’m showing you how to use your bread machine’s dough cycle and bake the loaf in a Dutch oven for a crusty, bakery-style result.

The Best Asian Dipping Sauce You'll Ever Taste

If you're looking for a versatile, easy-to-make Asian dipping sauce perfect for sushi and dumplings, then you've come to the right place. This recipe for the best Asian dipping sauce is perfect for any time you want a  kick of delicious Asian flavor. An Asian Dipping Sauce for Sushi and Dumplings Try this if you are looking for a dipping sauce that is a little more flavorful than you typically get with your takeout order. You'll love it with dumplings, too!

Five Keys to Growing A Healthy Ficus Tree

Have you ever wondered how a single Ficus benjamina tree could become a beloved part of your home for decades, thriving and growing alongside your family?  If you haven’t yet, you might consider the addition of this living, air-purifying companion in your home that not only beautifies your space but also stands the test of time.  You may know this tree as either a Ficus benjamina or a weeping fig.   I have loved growing a ficus tree in my home for 36 years. It’s remarkable that I've had this tree for so long.   How to Grow A Ficus Tree Inside for Decades This post includes affiliate links. I may receive compensation when you use these links. When thinking about how I managed to keep this indoor ficus tree happy, healthy, and growing strong all these years it boiled down to five key Ficus benjamina plant care tips. Follow these tips and you can have a happy, healthy ficus tree in your home for many years, too.

Easy Chicken Parmesan-A Make Ahead Freezer Dinner

Chicken Parmesan is a favorite dinner in the Just One Donna house because it is a delicious dish that can satisfy your cravings for Italian food. It's also easy to make at home with simple ingredients you probably have in your pantry.  But what if you don't have time to cook on a busy weeknight? Don't worry, you can make Chicken Parmesan ahead of time and freeze it for later. I like to prepare Chicken Parmesan to have on hand in my freezer for those busy weeknights when we might be tempted to head to a restaurant instead of eating at home.  How to Make Freezer Chicken Parmesan for Busy Nights This post contains affiliate links.  I receive a small compensation when you shop using these links Easy Freezer Chicken Parmesan for Dinner Chicken Parmesan, also known as Chi...